If you're not in a rush and you want to unlock all the Island Sanctuary exclusives with a minimum of effort, this guide is for you.
Part 0: Unlock Island Sanctuary
First, complete the final quest of Endwalker (quest title: "Endwalker").
Then go to Old Sharlayan and speak to the Clueless Crier near the Aetheryte (X:11.9 Y:11.0) to begin the quest "Seeking Sanctuary".
Then go to Moraby Drydocks in Lower La Noscea, and talk to Baldin until you have the option "Travel to my island". Choose that option to go to your island.
Then talk to Tataru until the quest is completed.
Read the on-screen guide, then check the checkbox and click Close to proceed.
Part 1: Working toward Automation
Unlock the Islekeep's Index
Talk to the Felicitous Furball until the Islekeep's Index appears on the screen. You can now ride a mount, but can't fly yet.
Gather to Build the Stone Hatchet
Click the flashing icon on the Islekeep's Index and choose Gather mode. You can click the ⚙️ in the upper-right of the Islekeep's Index to choose which types of gathering materials to display on the minimap.
Speed Things Up with Island Sprint
When not riding a mount, you can use the Island Sprint duty action, which has a shorter cooldown than regular Sprint. This makes it possible to constantly sprint while you're on the island.
 Gather the Following (See Below for Maps)
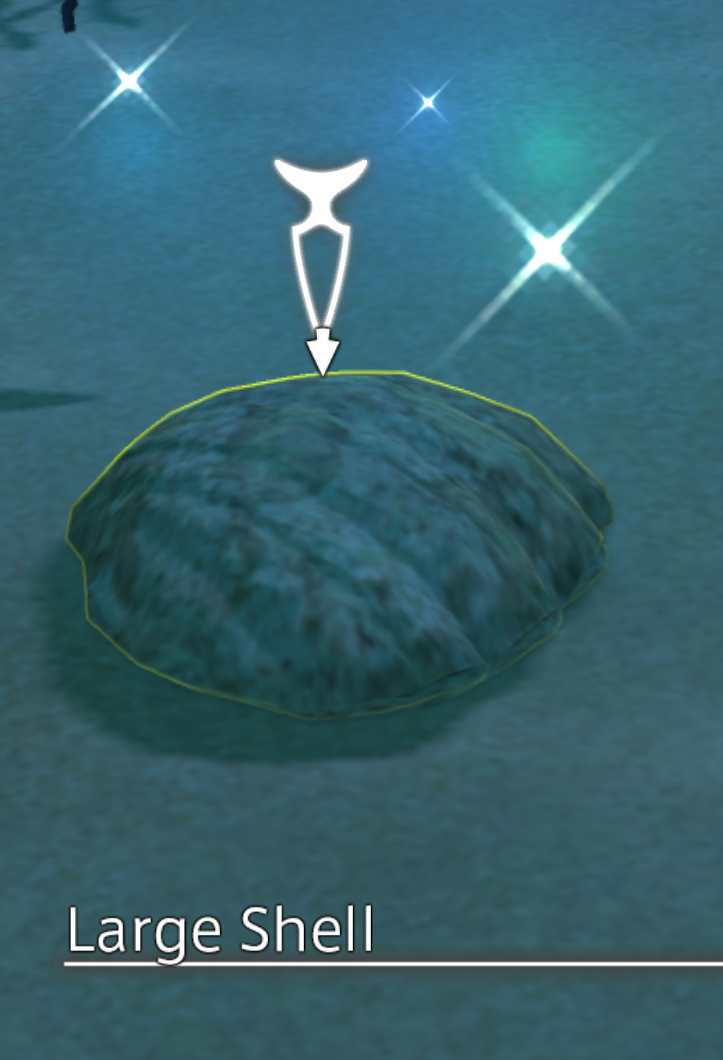
- 1x Clam (from Large Shell; dive underwater by pressing Ctrl+Spacebar on keyboard or by pressing B on Gamepad)
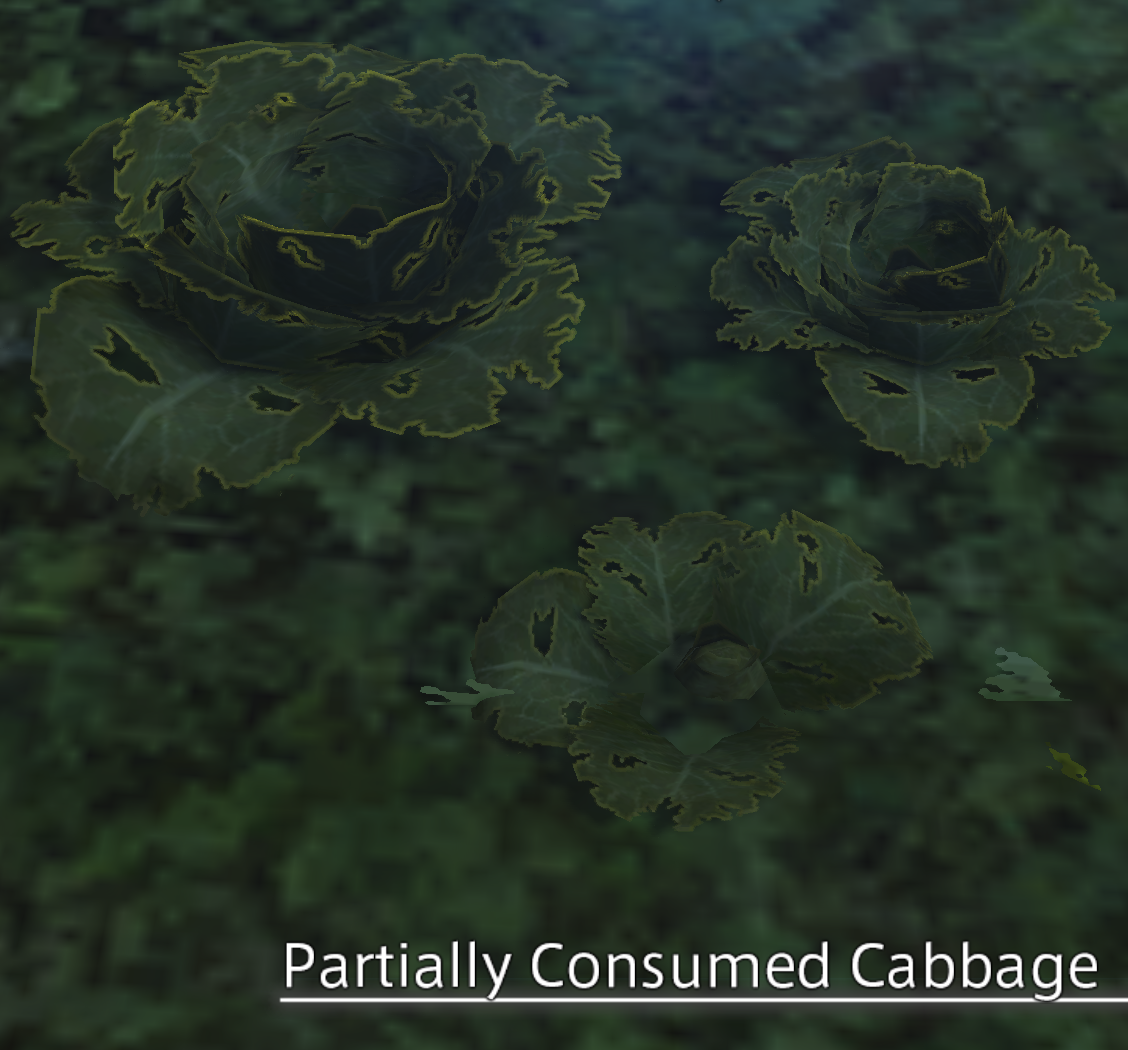
- 1x Cabbage Seed (from Partially Consumed Cabbage)
- 3x Palm Leaves (from Palm Trees)
- 2x Stones (from Smooth White Rocks)
- 2x Branches (from Tualong Trees)
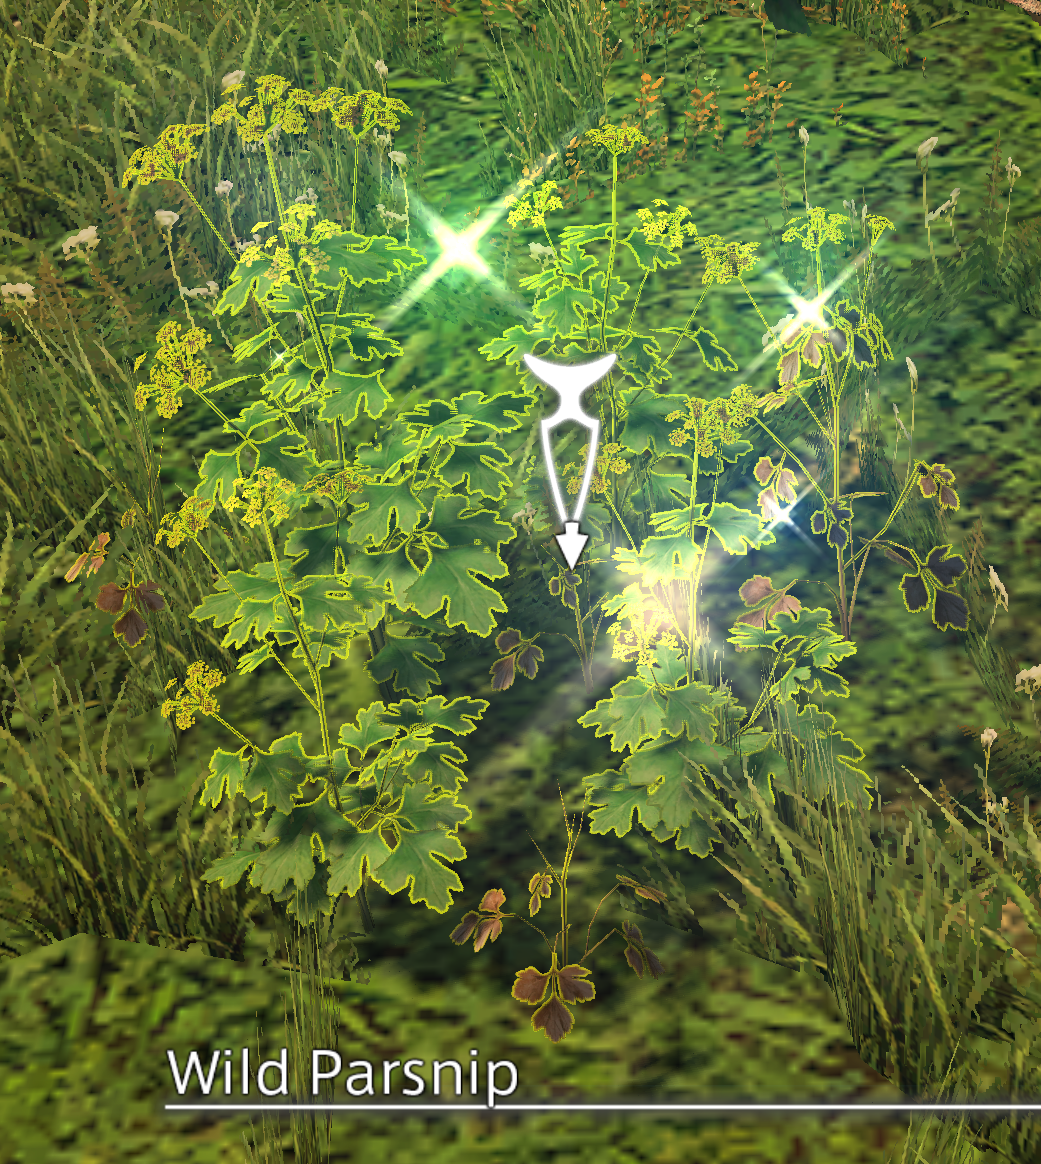
The Same List as Above, But with Maps


 Learn the Stone Hatchet Recipe and Craft the Stone Hatchet
Use the Isle Return duty action, then talk to the Furball. Click the hammer 🔨 icon in the Islekeep's Index to open the Sanctuary Crafting Log, then craft the Stone Hatchet.
Create a Building Site
Talk to the Furball until the building site appears.
Where Did the Node Go?
Nodes disappear after you gather from them, but they will reappear after you gather from 11 other nodes. If you can't find the type of node that you need, gather something else first, then go back.
Gather to Build the Cabin
Gather the Following (See Below for Maps)
- 10x Palm Logs (from Palm Trees - this also gets you the 10x Palm Leaves that you need)
- 5x Stones (from Smooth White Rocks)
- 5x Vines (from Island Apple Trees)
- 5x Sand (from Submerged Sand/Mound of Dirt - choose "Display Soils" to show them on the map)
The Same List as Above, But with Maps


Build the Cabin
Use Isle Return, check on the Cozy Cabin Logboard, and click the Construct button. Check the Logboard again to fully complete the construction.
Talk to the Felicitous Furball to complete the Vision, then talk to the Felicitous Furball to start the next Vision.
Don't Spend Seafarer's Cowries at the Cowrie Exchange yet!
The Cowrie Exchange is now available, but don't spend blue Cowries there yet. You will need to spend them on other things to progress. (If you can't resist buying some things from the Cowrie Exchange, just be sure to keep at least 500 Cowries on hand.)


 Buy a 60 Day Game Time Card for Final Fantasy XIV